version: sunnypilot v2025.003.000 (dev)
date: 2026-02-09T02:04:38
master commit: 254f55ac15a40343d7255f2f098de3442e0c4a6f
3.1 KiB
Turn the speed blue
A getting started guide for openpilot development
In 30 minutes, we'll get an openpilot development environment set up on your computer and make some changes to openpilot's UI.
And if you have a comma 3X, we'll deploy the change to your device for testing.
1. Set up your development environment
Run this to clone openpilot and install all the dependencies:
bash <(curl -fsSL openpilot.comma.ai)
Navigate to openpilot folder & activate a Python virtual environment
cd openpilot
source .venv/bin/activate
Then, compile openpilot:
scons -j$(nproc)
2. Run replay
We'll run the replay tool with the demo route to get data streaming for testing our UI changes.
# in terminal 1
tools/replay/replay --demo

# in terminal 2
./selfdrive/ui/ui.py
The openpilot UI should launch and show a replay of the demo route.
If you have your own comma device, you can replace --demo with one of your own routes from comma connect.
3. Make the speed blue
Now let’s update the speed display color in the UI.
Search for the function responsible for rendering the current speed:
git grep "_draw_current_speed" selfdrive/ui/onroad/hud_renderer.py
You'll find the relevant code inside selfdrive/ui/onroad/hud_renderer.py, in this function:
def _draw_current_speed(self, rect: rl.Rectangle) -> None:
  """Draw the current vehicle speed and unit."""
  speed_text = str(round(self.speed))
  speed_text_size = measure_text_cached(self._font_bold, speed_text, FONT_SIZES.current_speed)
  speed_pos = rl.Vector2(rect.x + rect.width / 2 - speed_text_size.x / 2, 180 - speed_text_size.y / 2)
  rl.draw_text_ex(self._font_bold, speed_text, speed_pos, FONT_SIZES.current_speed, 0, COLORS.white)  # <- this sets the speed text color
Change COLORS.white to make it blue instead of white. A nice soft blue is #8080FF, which you can change inline:
- rl.draw_text_ex(self._font_bold, speed_text, speed_pos, FONT_SIZES.current_speed, 0, COLORS.white)
+ rl.draw_text_ex(self._font_bold, speed_text, speed_pos, FONT_SIZES.current_speed, 0, rl.Color(0x80, 0x80, 0xFF, 255))
4. Re-run the UI
After making changes, re-run the UI to see your new UI:
./selfdrive/ui/ui.py
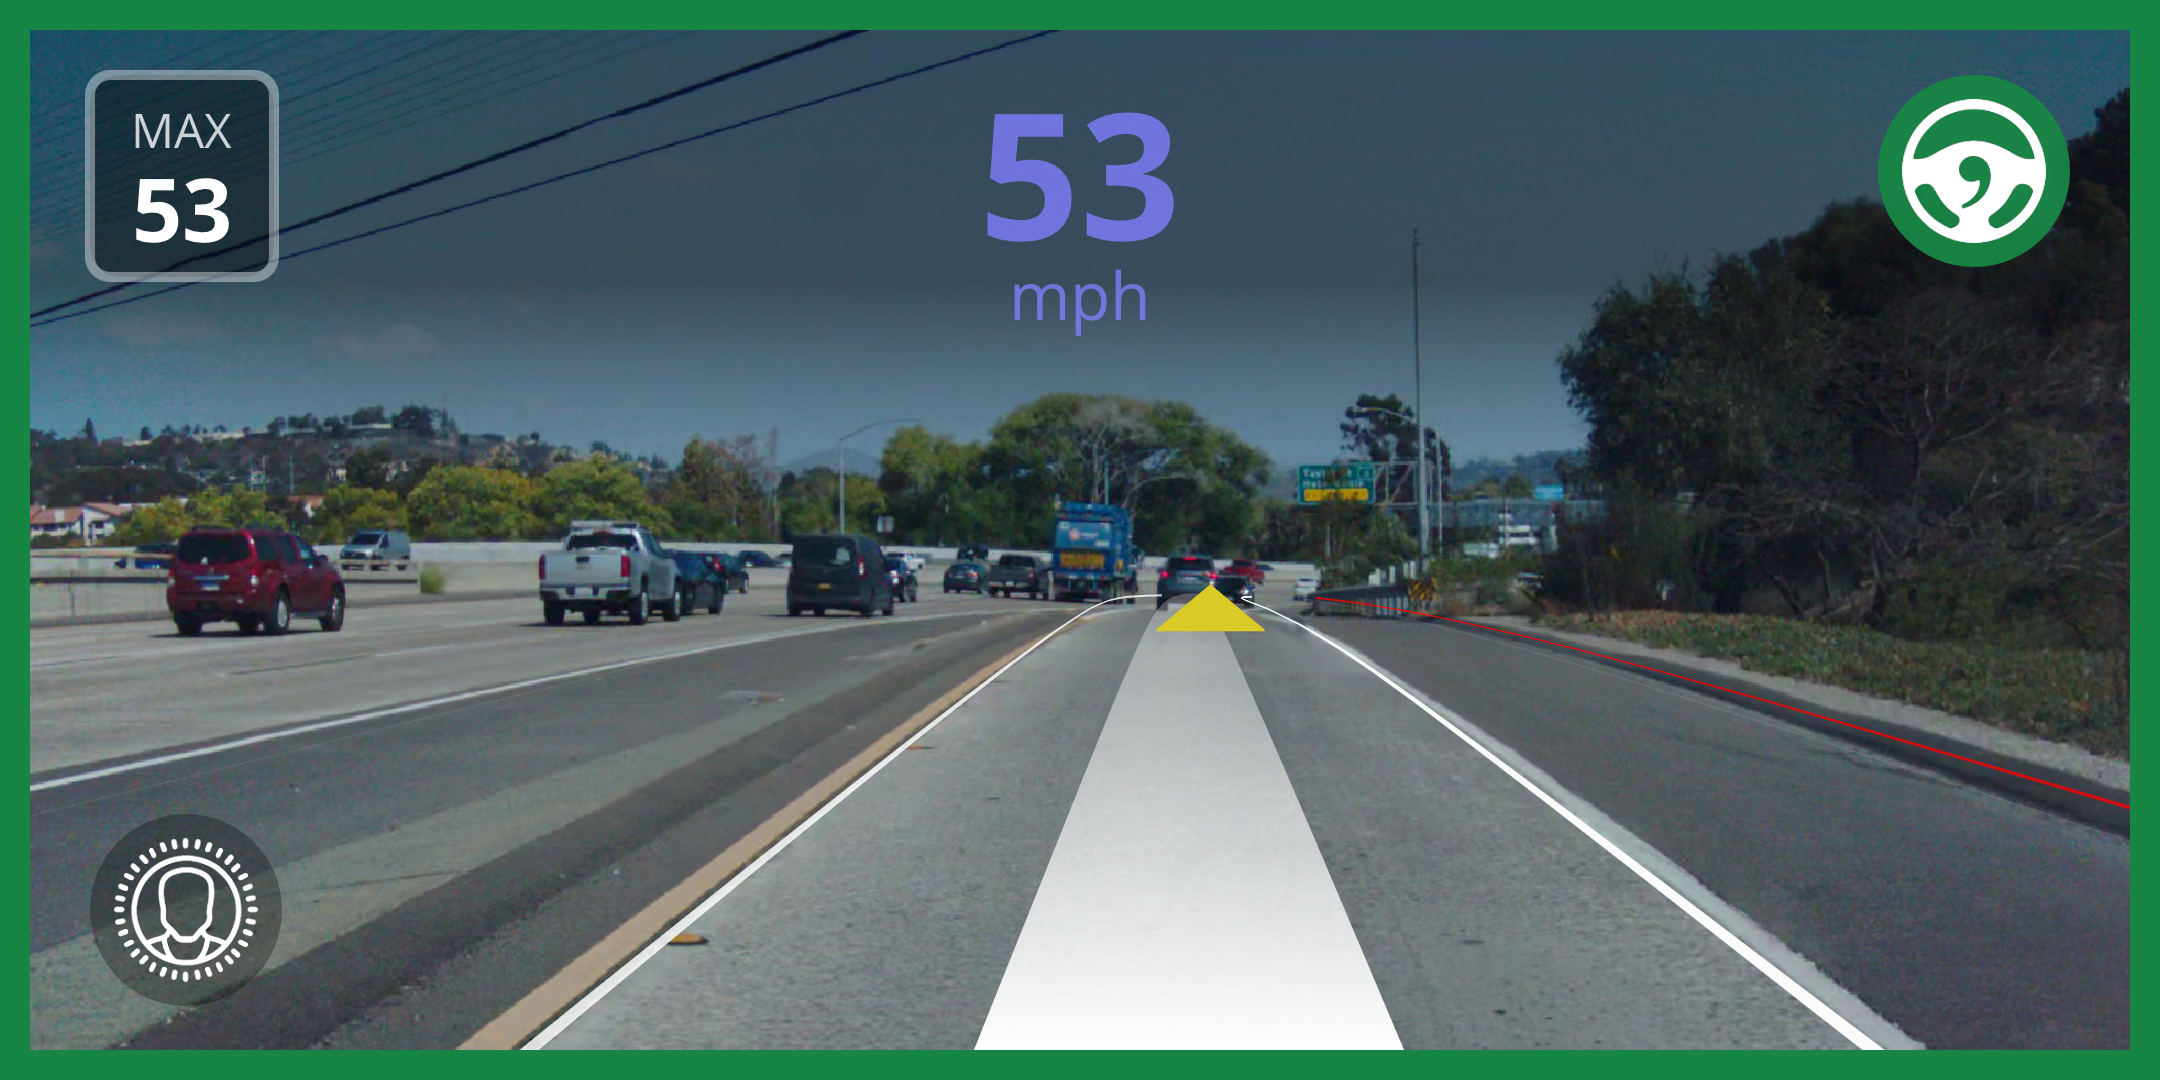
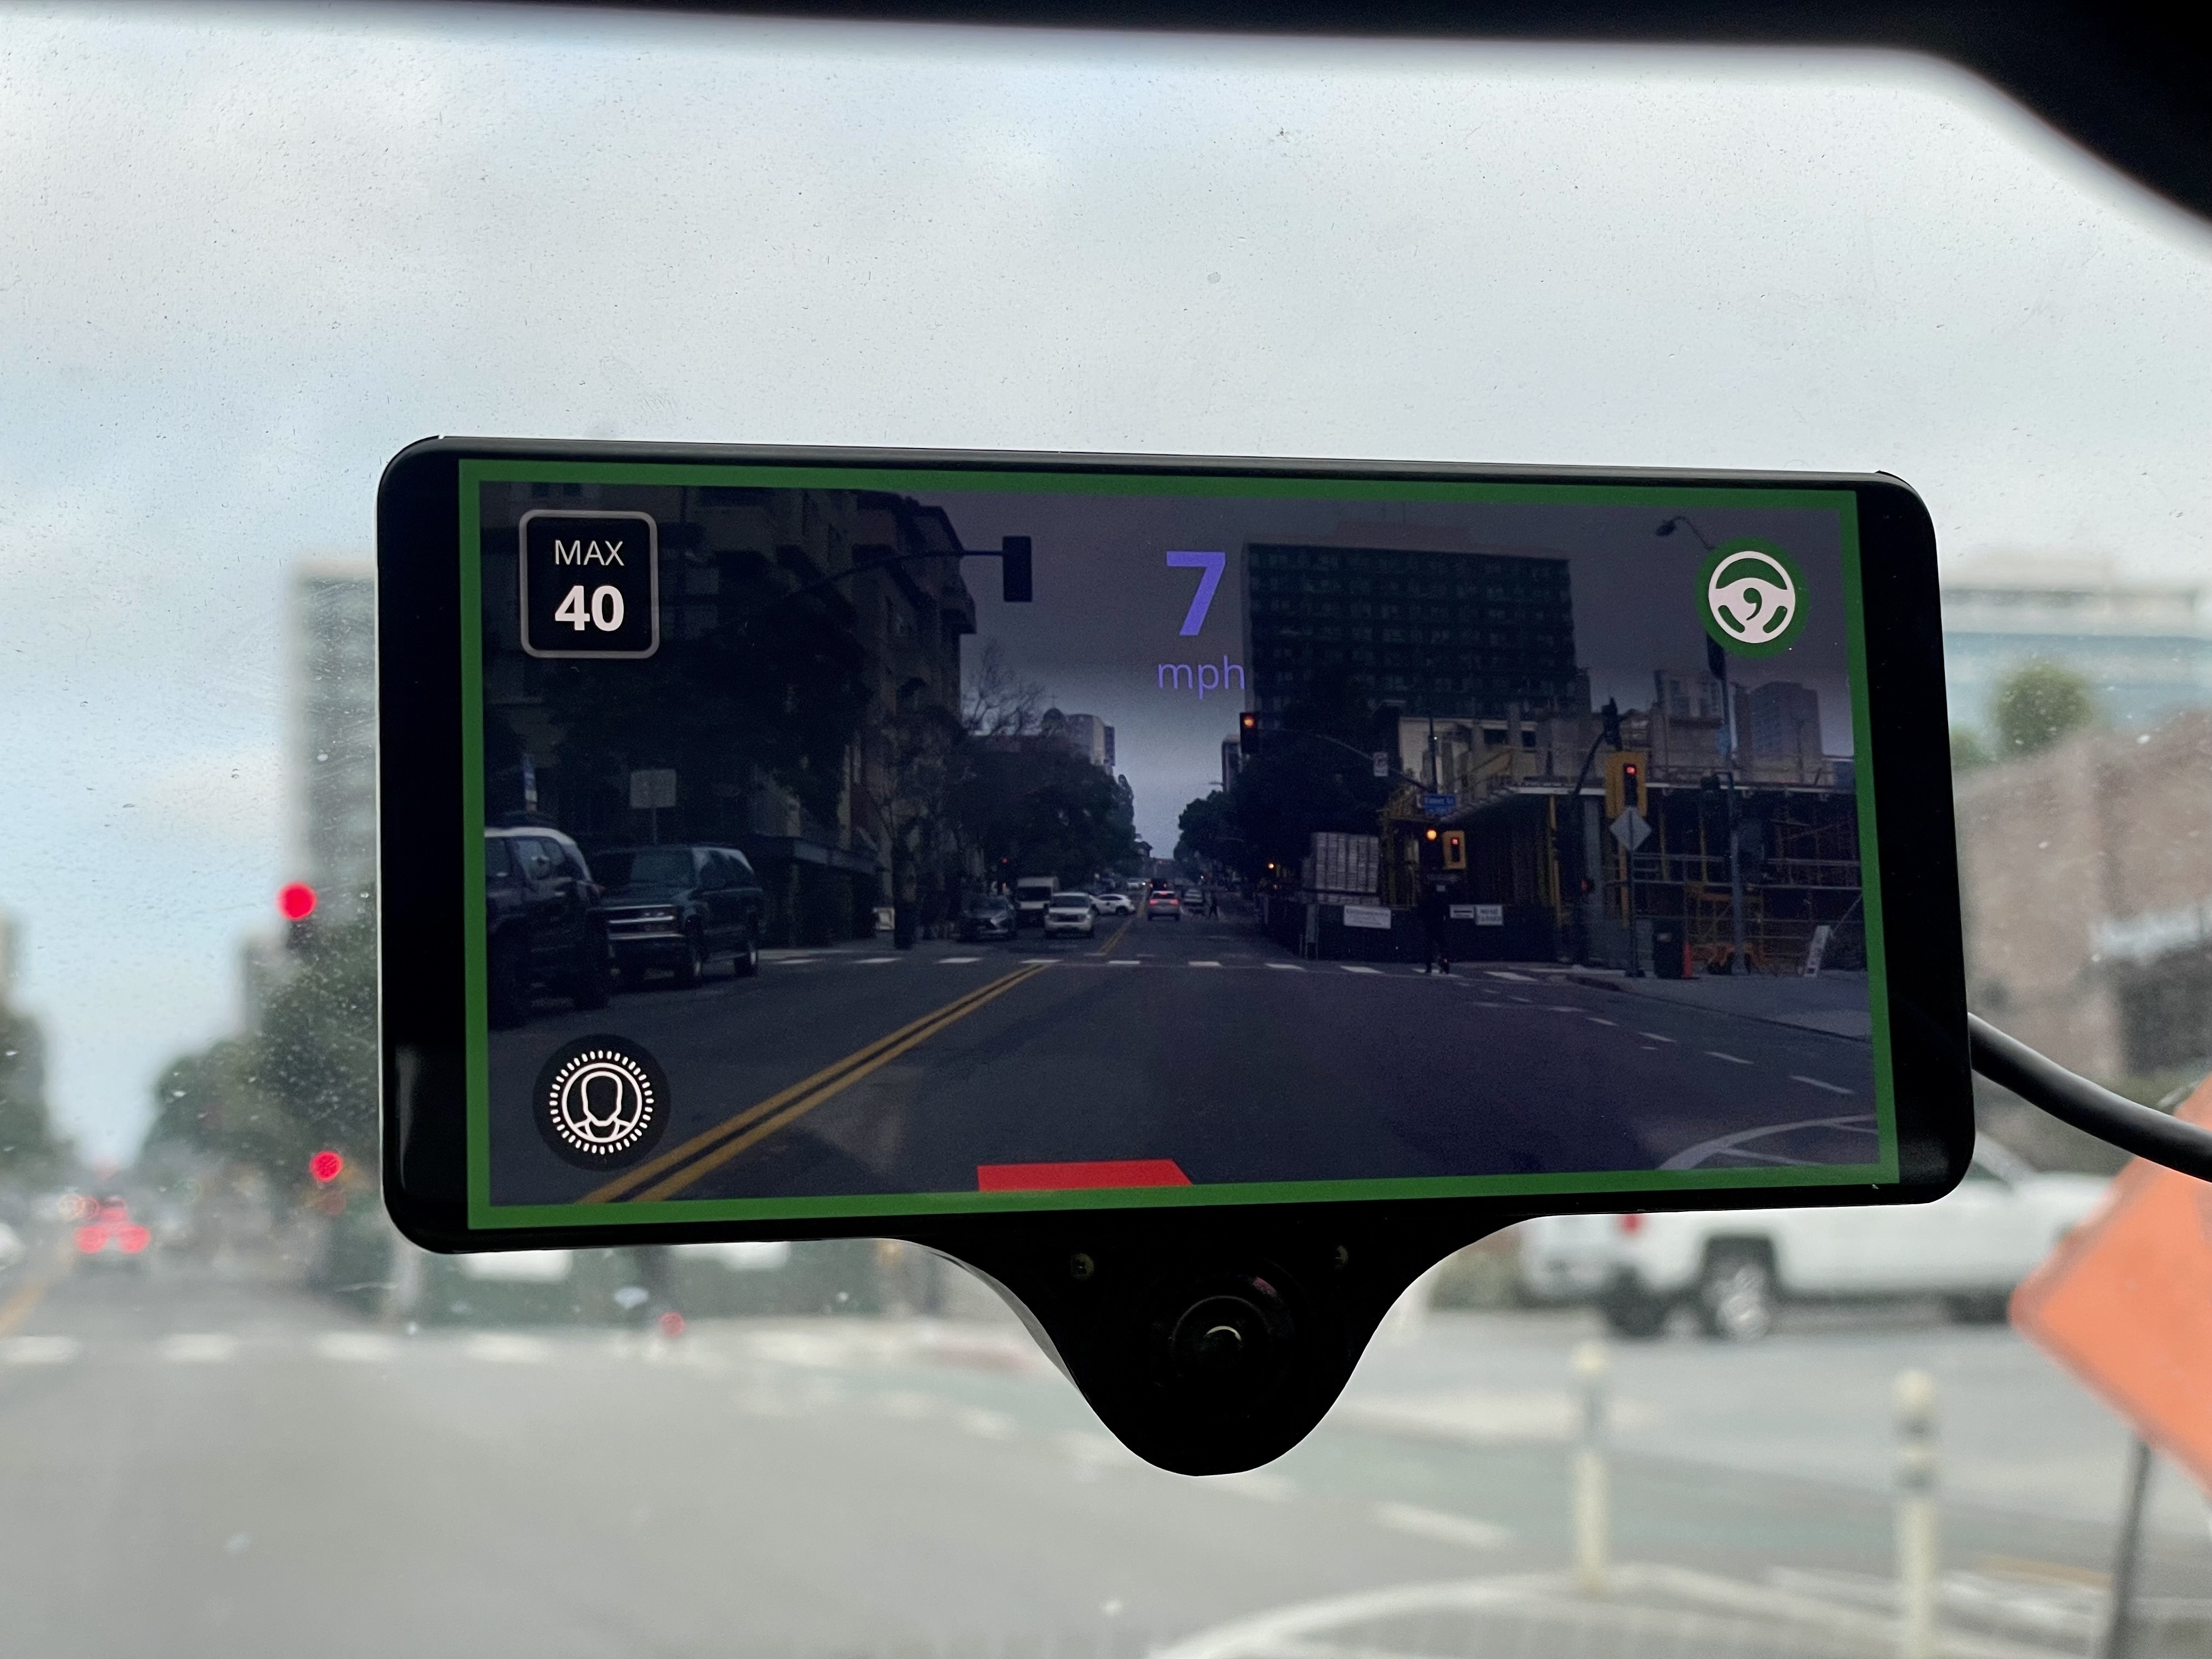
You should now see the speed displayed in a nice blue shade during the demo replay.
5. Push your fork to GitHub
Click "Fork" on the Openpilot GitHub repo. Then push with:
git remote rm origin
git remote add origin git@github.com:<your-github-username>/openpilot.git
git add .
git commit -m "Make the speed display blue"
git push --set-upstream origin master
6. Run your fork on your comma device
Uninstall Openpilot through the settings on your device.
Then reinstall using your own GitHub-hosted fork:
installer.comma.ai/<your-github-username>/master
7. Admire your work IRL 🚗💨
You’ve now successfully modified Openpilot’s UI and deployed it to your own car!